Note: Ticketing modules are currently in limited access. Please contact our team to enable this feature for your workspace.
After creating a ticket, you can manage the ticket in the “Tickets” tab and Inbox. To manage tickets in your Inbox, read this article to learn more.

1. Pre-defined filtered view
When you land on the Tickets page, you will see pre-defined views with filters applied for easier ticket management. Below is a list of these views:
- All tickets
- Displays all tickets assigned to you
- The “Ticket assignee” filter is automatically applied and set to you
- Use case: View all tickets you are responsible for in one place to ensure no tasks are missed
- Overdue tickets
- Tickets with a due date earlier than the current date
- Tickets that are not marked as resolved
- Use case: Focus on overdue tickets to prioritize and resolve time-sensitive issues
- Urgent tickets
- Displays tickets with the “Urgent” priority level
- Use case: Identify and address high-priority tickets immediately to prevent delays in critical issues
- High priority tickets
- Displays tickets with the “High” priority level
- Use case: Organize and manage tickets that require attention but are less urgent than critical issues
- On hold Tickets:
- Displays tickets with the status “On hold”
- Use case: Review tickets awaiting further input or action to identify potential follow-ups
- To do tickets:
- Displays tickets with the status “To do”
- Use case: Focus on tickets that need action to maintain steady progress in issue resolution
- Resolved tickets:
- Displays tickets with the status “Resolved”
- Use case: Review completed tickets to track resolution history or confirm outcomes
2. Search bar
The search bar allows you to find tickets by ticket title or ticket ID. Search results are displayed in the "Ticket list" below.
3. Export ticket data button
You can export ticket data as a .CSV file. Follow these steps to export your ticket data:
- Click the “Export” button at the top of the page

- A date picker dialog will appear

- Select a date range based on the ticket creation date.
- Filters applied on the ticket page will not affect the exported data. Ensure the date range is valid.
- Click “Export”.
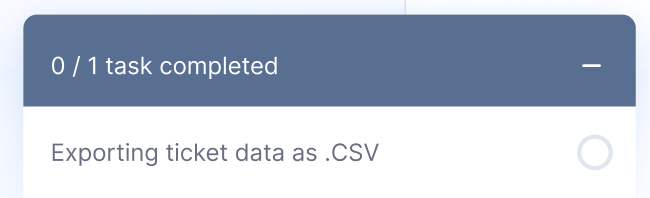
- A background task will appear at the bottom of the navigation bar, where you can track the export progress.
- Once the task is complete, a download prompt will appear.
- Click the
icon to download the file to your computer
4. “Create new ticket” button
Click the “Create New Ticket” button to add a ticket. For more details on creating tickets, refer to this article.
5. Ticket settings
Click the “Ticket Settings” button to navigate to the ticket settings page. Learn more about ticket settings in this article.
6. Filters and sort
You can filter and sort tickets to better manage them:
Filters
- Ticket assignee: Automatically set to you when landing on the page. This can be changed anytime.
- Status: Filter tickets by their current status (e.g., To do, Resolved)
- Type: Filter tickets by category (e.g., Question, Task)
- Priority: Filter tickets by their urgency level (e.g., Urgent, High)
- Due date: Filter tickets based on their due dates
- Contact: Filter tickets by the associated contact
Sorting options
- Date created: Sort tickets from newest to oldest or vice versa
- Due date: Sort tickets by nearest or farthest due dates
- Priority: Sort tickets by highest to lowest priority
- Status: Sort tickets from unresolved to resolved
You can click the “Reset” button on the top right corner to remove all applied filters and sort to reset to the pre-defined filtered view.
7. Ticket list
Here are the key items you can do in the “Ticket list”
a. Ticket details preview
You can preview the following ticket properties directly from the list:
- Title
- Ticket ID
- Due date
- Resolution date
- Contact
- Channel
- Creation date
b. Editing tickets
There are 2 ways to edit a ticket
- Directly in the “Ticket list”
- Locate the ticket you need to edit
- Select the fields you want to edit. You can edit the following fields:
- Status
- Type
- Priority
- Due date
- Assignee
- In the ticket detail dialog
- Locate the ticket you need to edit in the “Ticket list”
- Click on the ticket to open the ticket detail dialog
- You can edit the ticket with more granularity

- Once you have finished editing the ticket details, click “Save” to save changes.
c. Copying ticket link
If you wish to send the URL of a ticket to another team member to follow up, you can follow the steps below to copy the ticket link:
- In the “Ticket list”
- Locate the ticket you need to copy link
- Hover on the ticket

- Click on the
icon and select “Copy link”
- The ticket link will be copied to your clipboard
- In the ticket detail dialog
- Select the ticket you need to copy link and open its ticket detail dialog
- Click the icon on the top right of the dialog and select “Copy link”

- The ticket link will be copied to your clipboard
d. Deleting tickets
There are 2 ways to delete a ticket:
- In the “Ticket list”
- Locate the ticket you need to delete
- Hover on the ticket

- Click on the Click on the
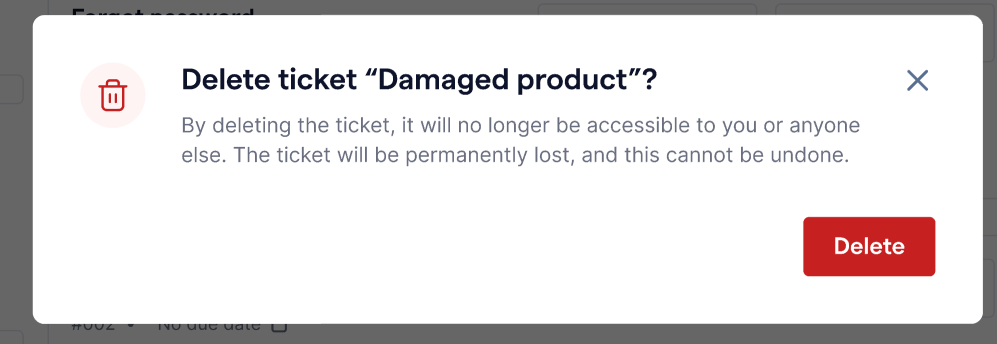
- A warning message will appear. Click “Delete” to confirm the action
- In the ticket detail dialog
- Select the ticket you need to copy link and open its ticket detail dialog
- Click on the
- A warning message will appear. Click “Delete” to confirm the action

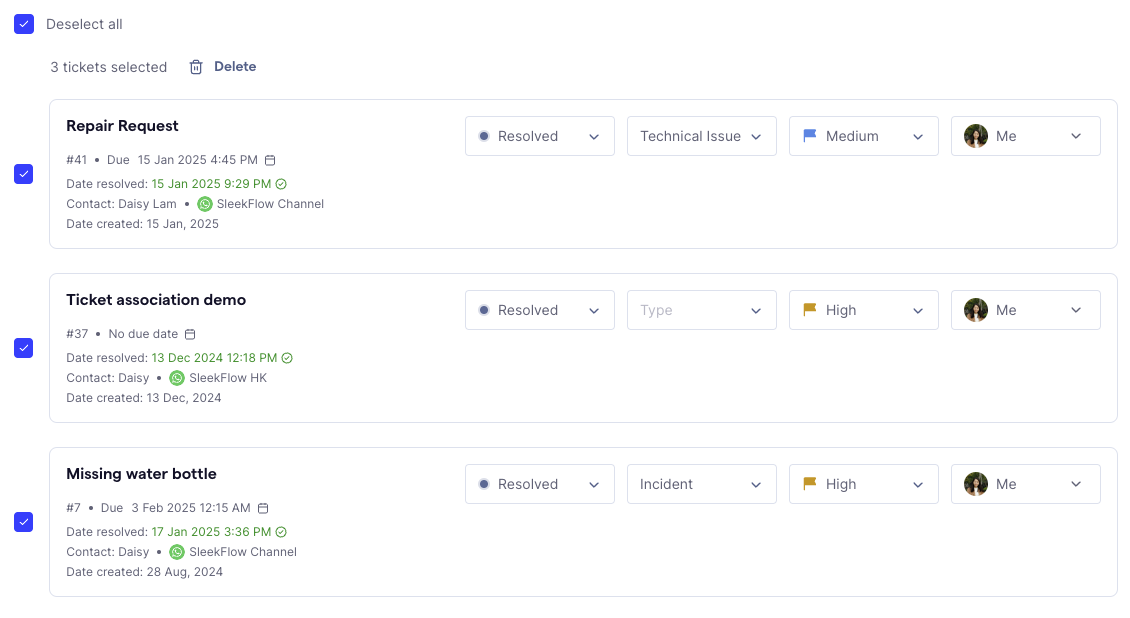
You can also use the “Select” feature in the “Ticket list” to delete tickets in bulk:
- In the “Ticket list”, select the tickets you want to delete. If you would like to select all tickets based on the applied filters you set, click on “Select all tickets matching applied filters”
- To deselect tickets, you can tick the checkbox on the left of the ticket
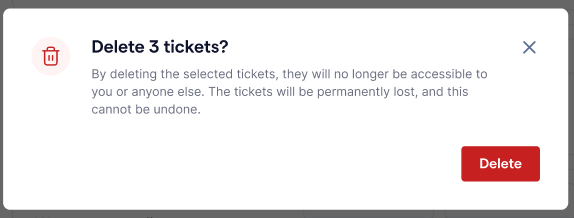
- Once you have selected the tickets that you need to delete, click “Delete”
- A warning message will appear. Click “Delete” to confirm the action.