


In this article, we will guide you through managing your company’s SleekFlow account settings, including updating your company name.
Note on permissions
Only admin and team admin users can access and update your company's SleekFlow account settings.
Manage your company's information
Access the page to update your company's information by following the steps outlined below:
-
Click on the
 icon in the bottom left corner to access the General Settings page
- Within the “General Settings” page, Click “Company details” (Under “Company Settings”)
Within the “Settings” tab of “Company details”, you can manage your company name and your company’s time zone.

Note on time zones
The SleekFlow platform has 2 time zone concepts: "Company Time Zone" and "Personal Time Zone.". You can refer to this article to learn more about “Personal Time Zone”.
Company and personal time zone configurations are used by the system when scheduling time-sensitive features such as scheduled broadcasts or inbox messages. When users set up these features, the system will first use the user’s Personal Time Zone to determine the proper scheduling. If a user does not have a "Personal Time Zone" configured, the system will fall back to using the "Company Time Zone".
Manage “Working hours” settings
Note: “Working hours” settings only affect conversation analytics metrics. The hours you configure are used internally and will not be visible to your customers.
To ensure your conversation analytics metrics accurately reflect your actual working hours, “Working hours” settings allow you to better track team performance and response times during your operational hours.
Note: This feature currently supports only one time zone. If your company operates across multiple international branches, enabling it may impact agent performance metrics such as “Average response time” and “Average first response time.”
Enable “Working hours” settings
You can enable and configure your company’s working hours in the "Working hours" section. You can follow these steps:
- Click the
icon on the left navigation bar
Go to “Company details” under “Company settings”

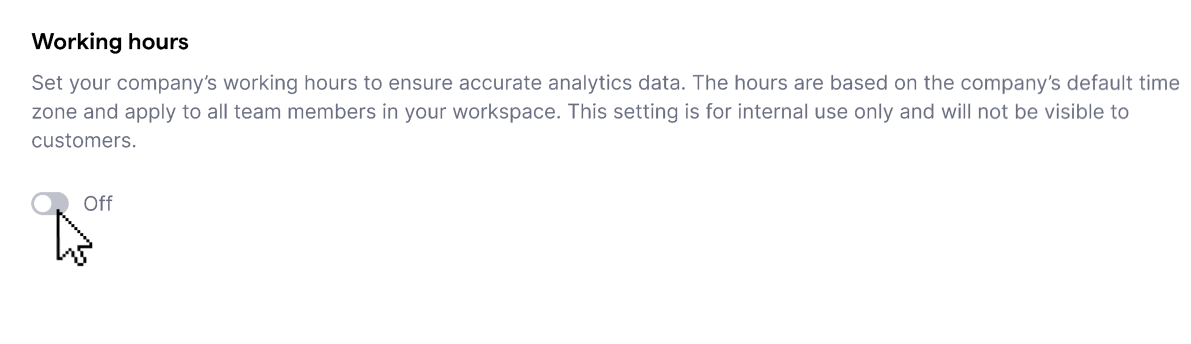
- Locate the “Working hours” section in the “Settings” tab
-
Toggle on the “Working hours” settings
Select the working days by checking the boxes

- Enter the start and end hours of the working day by selecting the time or entering it manually
- Once you have completed configuring the settings, click “Save” at the bottom of the page to apply the changes
Once enabled, this setting will impact your conversation analytics metrics, such as average reply time and first reply time, aligning them with your actual working hours. For more details, refer to our Help Center article on Conversation Analytics.
Disable “Working hours” settings
You can follow the steps below to disable the "Working hours” settings:
- Click the
-
Go to “Company details” under “Company settings”
- Locate the “Working hours” section in the “Settings” tab
Turn off the “Working hours” toggle

-
Click the “Save” button at the bottom of the page to save changes
Once disabled, “Working hours” will no longer affect your conversation analytics metrics. All metrics will revert to being calculated based on a 24-hour timeframe.