Os nós de gatilho do HubSpot permitem automatizar fluxos de trabalho com base em registros do HubSpot, possibilitando sincronização contínua de dados e ações automatizadas. Com esses gatilhos, você garante que atualizações no HubSpot acionem ações correspondentes na SleekFlow, melhorando o gerenciamento de leads, o engajamento com clientes e a eficiência operacional.
Antes de configurar os nós de gatilho do HubSpot, certifique-se de que a integração do HubSpot com a SleekFlow já esteja concluída. Você pode seguir as etapas descritas neste artigo da Central de Ajuda para finalizar a conexão.
Registro do HubSpot criado
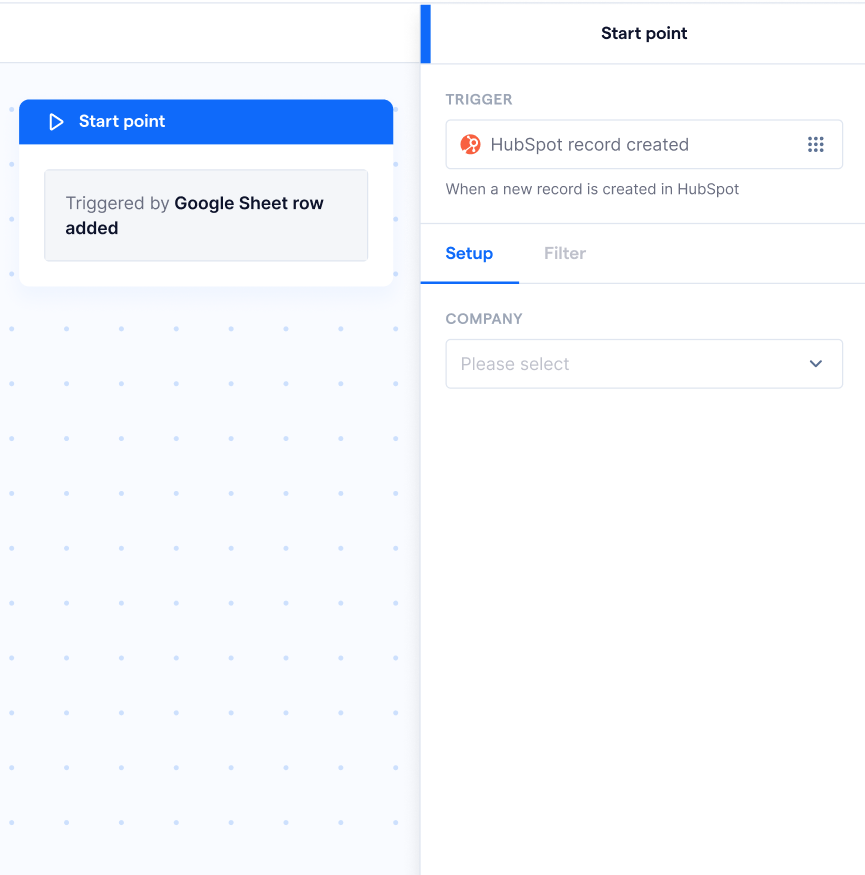
O gatilho “Registro do HubSpot criado” é acionado sempre que um novo registro é criado nos contatos do HubSpot ou em um Objeto Personalizado selecionado. Quando um novo registro é adicionado no HubSpot, o fluxo executa automaticamente as ações subsequentes.
Casos de uso comuns incluem:
- Engajamento de novos leads: quando um novo lead é adicionado no HubSpot, envie automaticamente uma mensagem de boas-vindas pela SleekFlow.
- Atribuição de leads a um membro da equipe de vendas: quando um novo negócio é criado no HubSpot, atribua o contato a um representante de vendas específico na SleekFlow.
- Registrar solicitações na SleekFlow: crie um Chamado na SleekFlow sempre que uma nova solicitação de suporte (chamado) for criada no HubSpot.
Configure o formulário do nó de gatilho “Registro do HubSpot criado” seguindo as etapas abaixo:
-
Clique no nó para abrir o formulário, que será exibido no lado direito da tela.
- Selecione a empresa do HubSpot e o objeto que você deseja usar neste nó. Caso ainda não tenha conectado uma empresa do HubSpot, consulte o artigo Connect to your HubSpot company Help Center
-
O formulário do nó contém os seguintes campos para configurar o gatilho:
- Condições de inscrição: quando ativadas, permitem definir condições específicas que o registro do objeto do HubSpot deve atender para ser inscrito no fluxo.
-
Adicionar condições: para definir critérios adicionais, clique em “+ Adicionar condições” e insira os detalhes necessários para que os registros se qualifiquem para a inscrição no fluxo.
Registro do HubSpot atualizado
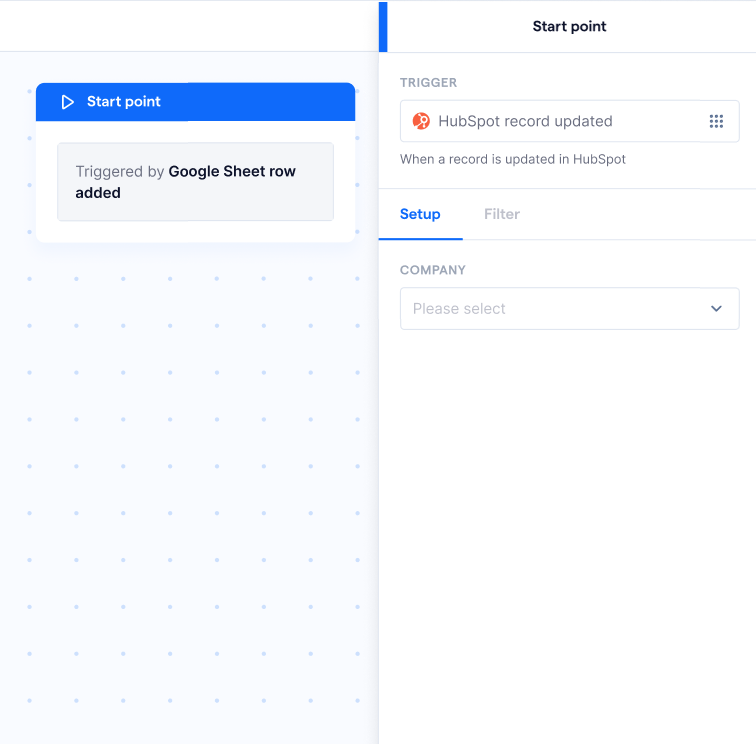
O gatilho “Registro do HubSpot atualizado” é acionado quando um registro existente do HubSpot é atualizado. Ele garante que quaisquer alterações no HubSpot sejam refletidas na SleekFlow, mantendo a consistência dos dados entre as plataformas.
Casos de uso comuns incluem:
- Atualizações de status de pedido: quando o status de um pedido é atualizado no HubSpot, envie uma mensagem automatizada para informar o cliente.
- Nutrição de leads: se a etapa de um lead mudar no HubSpot (por exemplo, de “Prospect” para “Qualified”), acione uma sequência automatizada de follow-up na SleekFlow.
- Lembretes de renovação de assinatura: quando a data de renovação for atualizada no HubSpot, envie uma mensagem de lembrete ao cliente antes do vencimento.
Configure o formulário do nó de gatilho “Registro do HubSpot atualizado” seguindo as etapas abaixo:
-
Clique no nó para abrir o formulário, que será exibido no lado direito da tela.
- Selecione a empresa do HubSpot e o objeto que deseja usar neste nó. Caso ainda não tenha conectado uma empresa do HubSpot, consulte o artigo: Connect to your HubSpot company Help Center article
-
O formulário do nó contém os seguintes campos para configurar o gatilho:
- Condições de inscrição: quando ativadas, permitem definir condições específicas que o registro do objeto do HubSpot deve atender para ser inscrito no fluxo.
-
Adicionar condições: para definir critérios adicionais, clique em “+ Adicionar condições” e insira os detalhes necessários para que os registros se qualifiquem para a inscrição no fluxo.