All trigger nodes require setting up in a node form, where you can further specify the parameters for a flow to be triggered. In this article, we will guide you on how to set up Google Sheets trigger nodes so you can initiate your flows based on expected circumstances.
Before setting up your “Google Sheets” trigger nodes, ensure that you have already integrated your Google Sheets account with SleekFlow. You can follow the steps in this Help Center article to complete the connection.
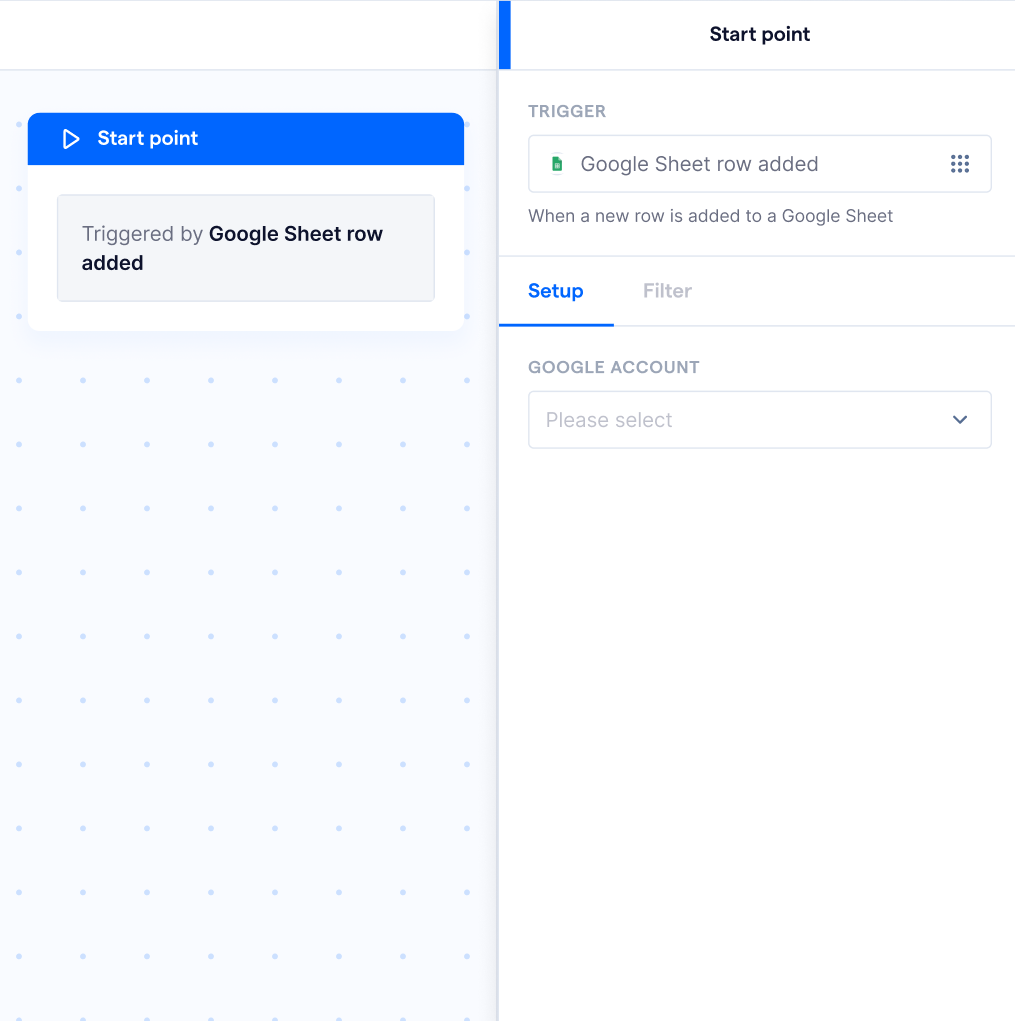
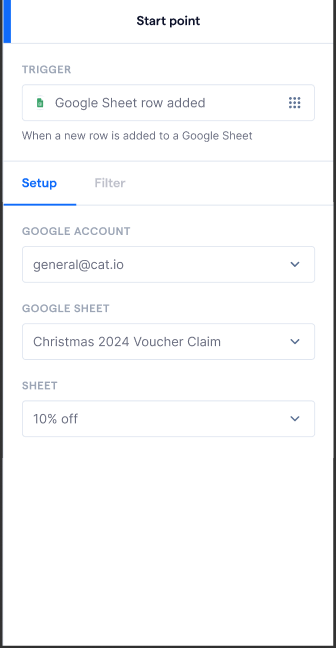
Google Sheet row added
The “Google Sheet row added” trigger activates whenever a new row is added to the selected Google Sheet. This allows you to automate actions in SleekFlow, ensuring seamless data updates and workflow efficiency.
Here are a few ways you can leverage the “Google Sheet row added” trigger:
-
Send an automated message based on new data entries
- When a new row is added with customer information, you can automatically send a personalized message via SleekFlow. This is useful for sending welcome messages, purchase confirmations, or event reminders.
-
Sync custom data to SleekFlow’s custom objects
- Automatically update SleekFlow’s custom objects with new data from Google Sheets, such as leads, orders, and payment details. This allows your team to access a complete view of customer information while chatting, enabling seamless follow-ups, automated messaging, and efficient workflow management.
-
Manage coupon and voucher redemptions
- If a new row is added with coupon redemption details, you can automate actions such as sending a confirmation message, updating the coupon status, or triggering follow-up campaigns. This ensures a smooth and automated redemption process for customers.
You can follow the steps below to set up the “Google Sheet row added” trigger node:
-
Click on the node to open up its form, which will appear on the right side of the screen
- Select the Google account you want to use within this node. If you have not connected to a Google account for your Google Sheets integration, you can refer to the Connect to your Google Sheets integration Help Center article
-
The node form contacts the following fields for you to set up the trigger:
- Google Sheet: Once you have selected a Google account, select the Google Sheet for the trigger
- Sheet: You will need to select the Sheet within the selected Google Sheet
-
Enrollment conditions: When toggled on, you can set specific conditions that the Salesforce object record must meet in order to be enrolled into the flow
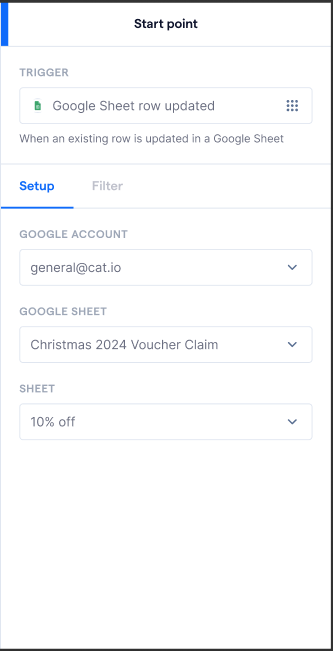
Google Sheet row updated
The “Google Sheet row updated” trigger activates whenever an existing row in the selected Google Sheet is modified. This allows you to automate actions in SleekFlow, ensuring seamless data synchronization and workflow efficiency.
Here are a few ways you can leverage the “Google Sheet row updated” trigger:
-
Send an automated message based on data updates
- When a row is updated with new information, you can automatically send a personalized message to the relevant contact. This is useful for notifying customers about changes in their orders, appointment rescheduling, or subscription updates.
-
Update contact details in SleekFlow
- If an existing row contains updated customer details, such as a new phone number, email, or status change, you can sync this data directly to SleekFlow’s contact database. This ensures that your records remain accurate and up to date.
-
Automate coupon and voucher tracking
- If a redemption status is updated in Google Sheets (e.g., from “Unused” to “Redeemed”), SleekFlow can trigger an automated action such as sending a confirmation message, applying loyalty rewards, or reminding the customer about upcoming offers.
You can follow the steps below to set up the “Google Sheet row added” trigger node:
-
Click on the node to open up its form, which will appear on the right side of the screen
- Select the Google account you want to use within this node. If you have not connected to a Google account for your Google Sheets integration, you can refer to the Connect to your Google Sheets integration Help Center article
-
The node form contacts the following fields for you to set up the trigger:
- Google Sheet: Once you have selected a Google account, select the Google Sheet for the trigger
- Sheet: You will need to select the Sheet within the selected Google Sheet
-
Enrollment conditions: When toggled on, you can set specific conditions that the Salesforce object record must meet in order to be enrolled into the flow