


Note: Ticketing modules are currently in limited access. Please contact our team to enable this feature for your workspace.
Configure the basic settings for the ticketing module in “Ticket Settings” to tailor it to your business needs. This article provides a detailed guide on accessing and managing ticket settings, including customizing ticket types.
Accessing the “Ticketing settings” page
You can configure the basic settings for ticketing modules in ticket settings. You can follow the steps to access to the “Ticketing settings” page:
- Click on the
icon on the left navigation bar to go to the Settings page
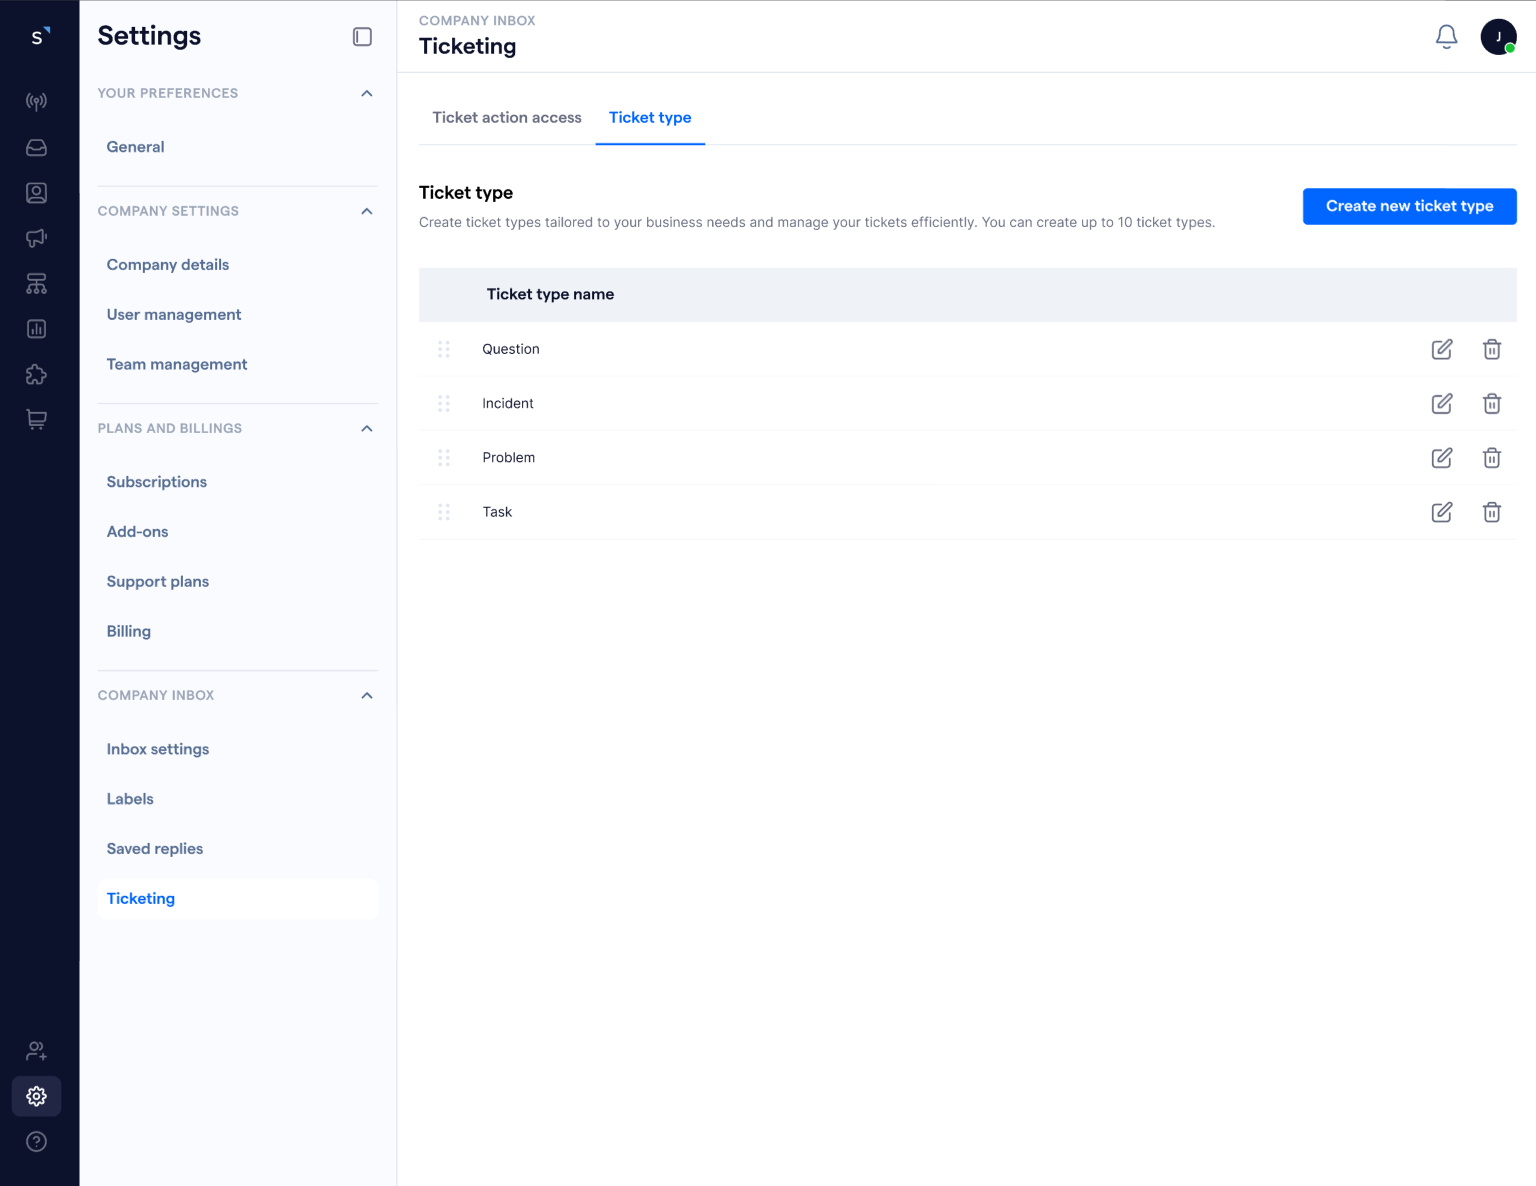
- On the left panel, click “Ticketing” under “Company inbox”
- You will be redirected to the “Ticketing settings” page
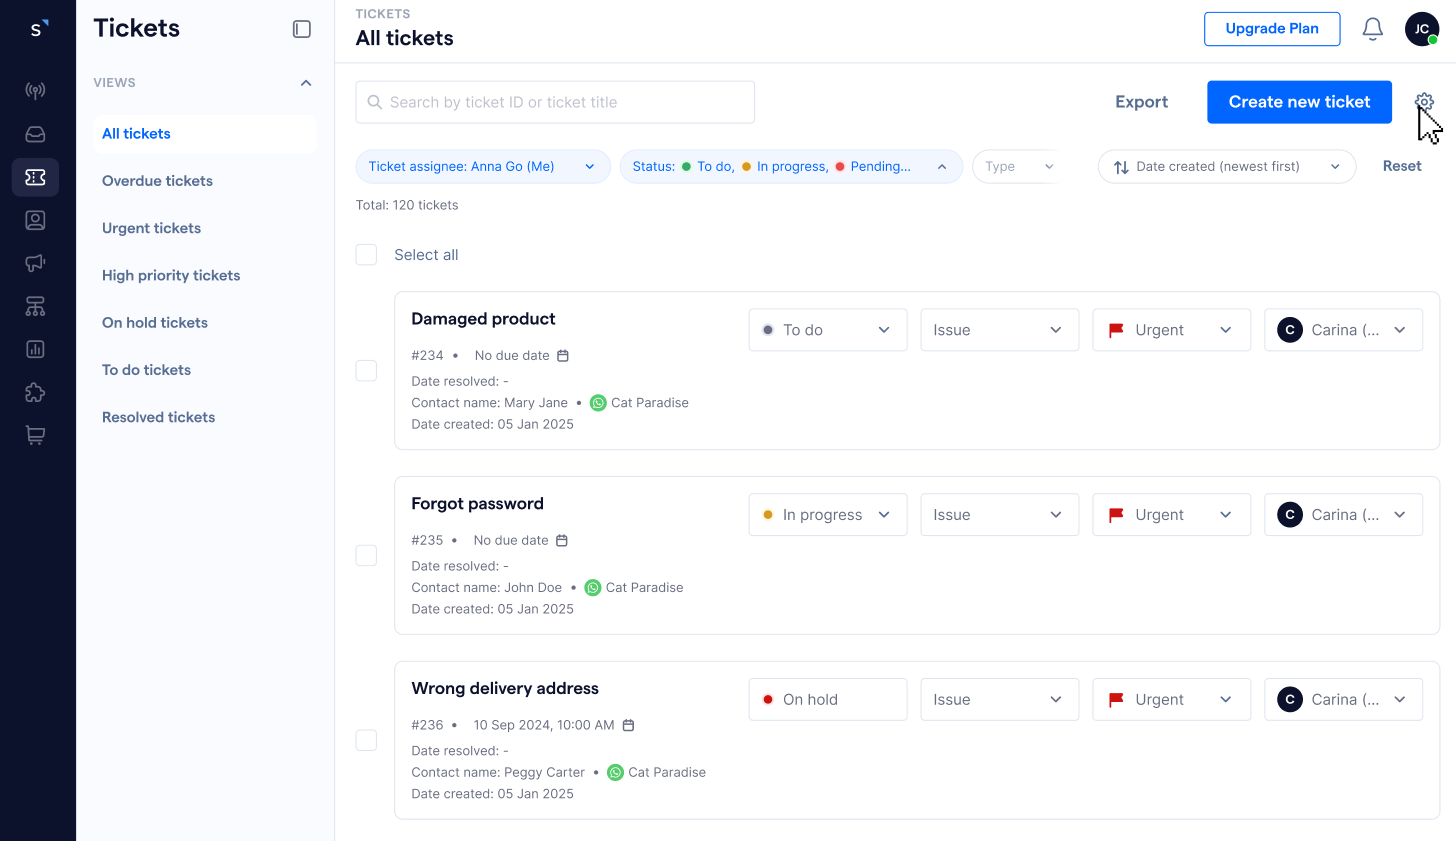
Alternatively, you can also go to the Ticket list page, and click the 
Customizing ticket types
Customizing ticket types allows you to categorize and prioritize issues based on your specific workflows and business needs. This helps streamline ticket management, ensuring faster resolution and better organization.
Once you have landed in the “Ticketing settings” page, you can view, manage and add new ticket types under the “Ticket type” tab.
Create ticket types
You can follow the steps below to create ticket types:
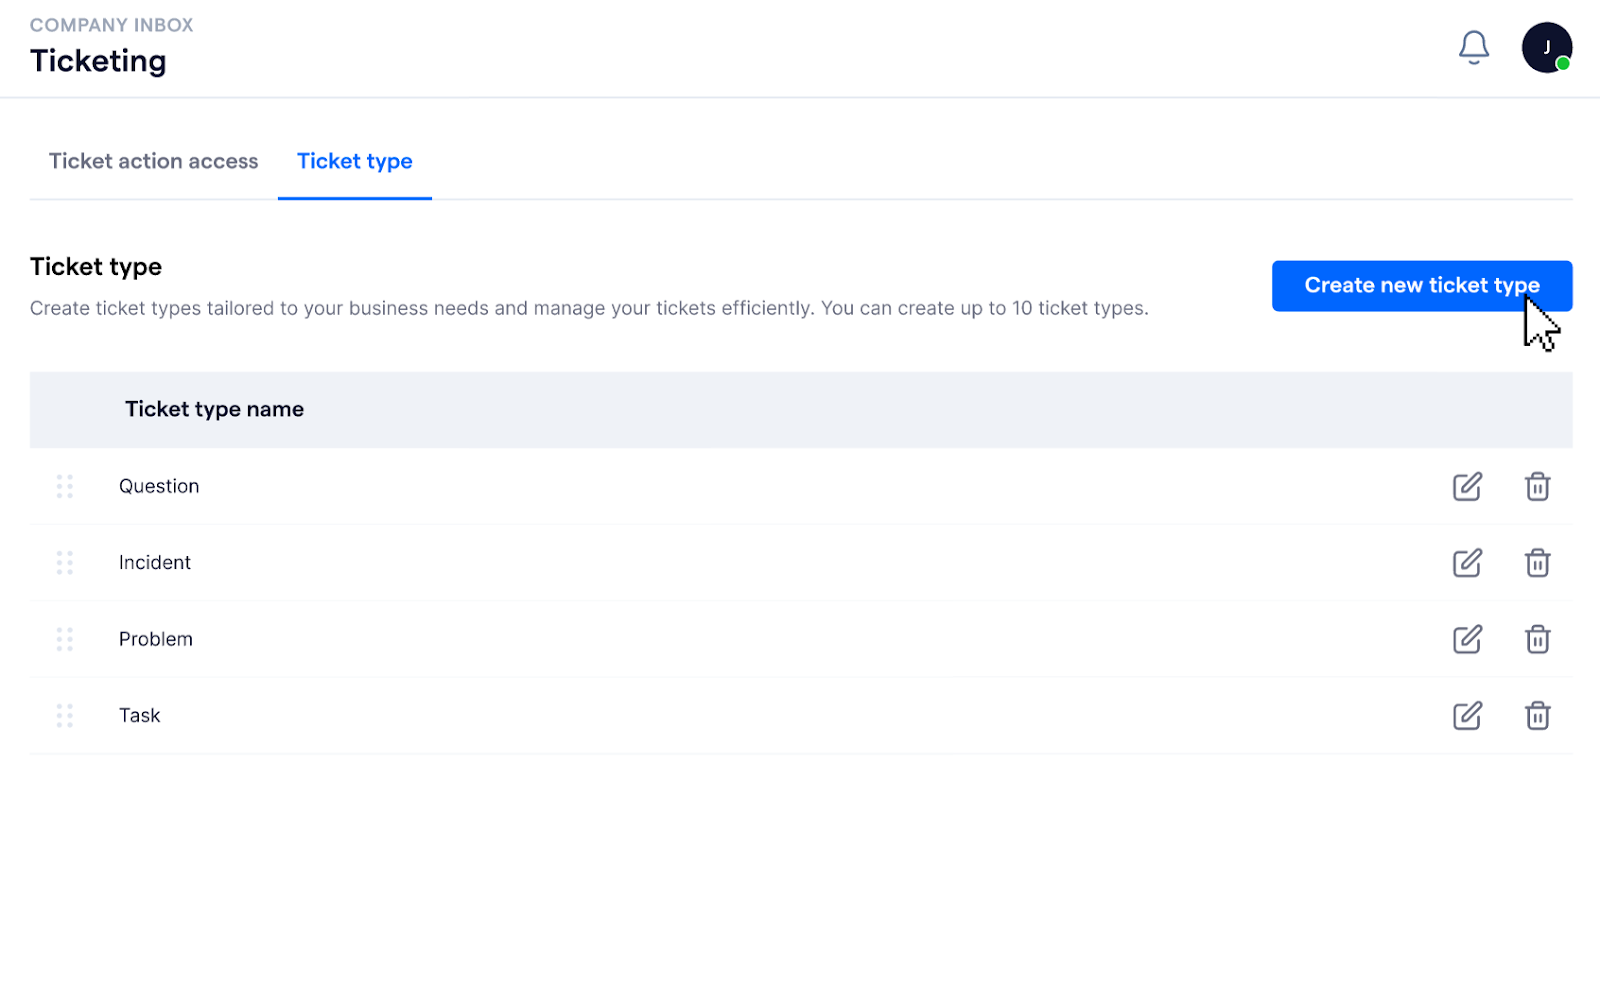
- In the “Ticketing settings” page, go to the “Ticket type” tab
- Click “Create new ticket type” button on the top right corner of the page
- A pop-up modal will appear
- Fill in the ticket type name. The ticket type name should be within 24 characters
- Once you have finished filling in the name, click “Create” to save the changes

Note: You can have up to 10 ticket types in your workspace.
Rename ticket types
You can follow the steps below to rename existing ticket types:
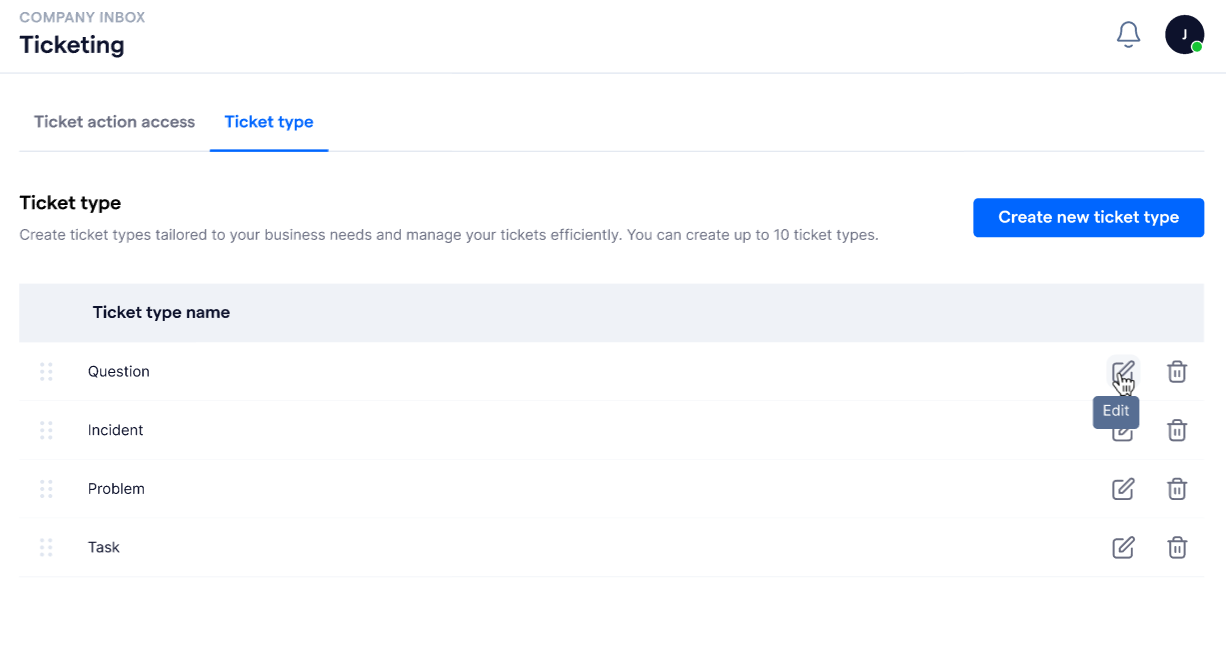
- In the “Ticketing settings” page, go to the “Ticket type” tab
- Locate the ticket type you need to rename
- Click the
icon on the right side of the ticket type name
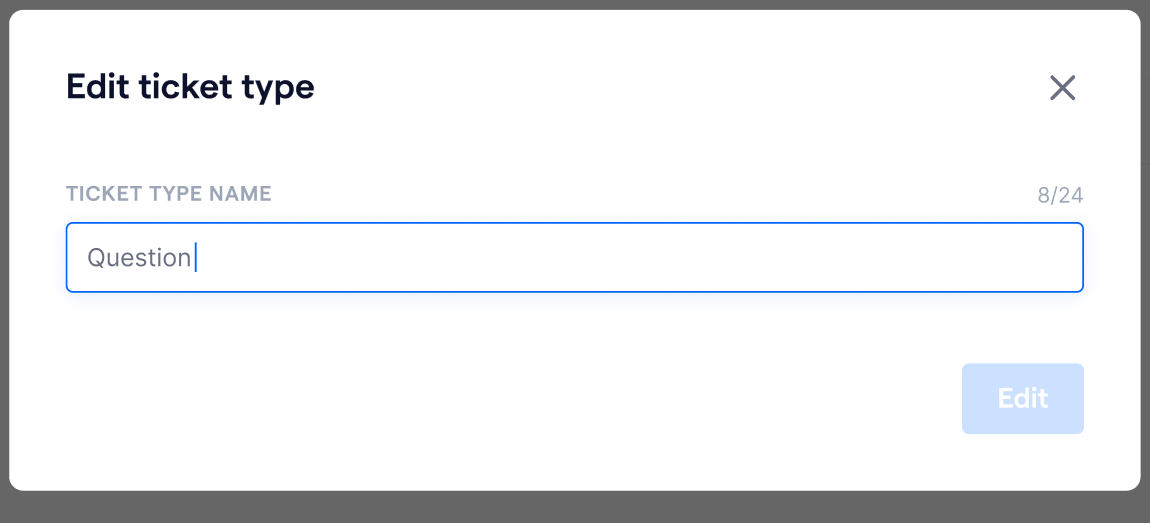
- A pop-up modal will appear. When there is no changes in the ticket type name, the “Edit” button will be disabled
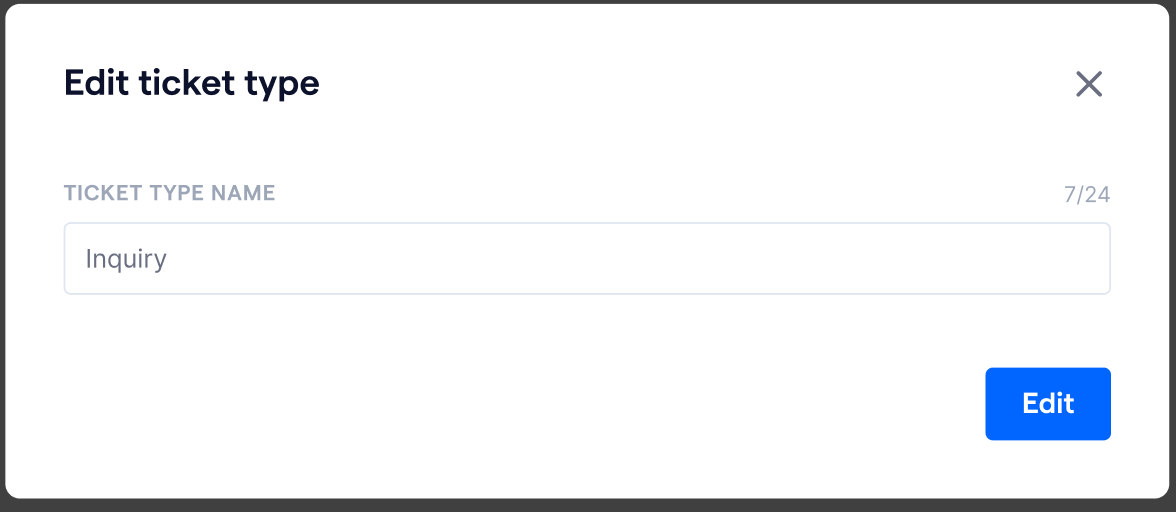
- Fill in the new ticket type name. The ticket type name should be within 24 characters.
- Once you have finished filling in the new name, click “Edit” to save the changes
Delete ticket types
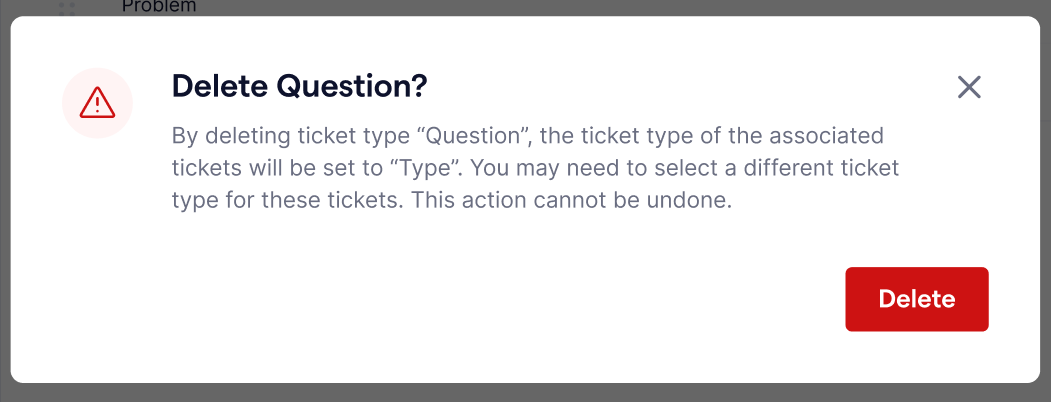
Important: Once you have deleted a ticket type, it will impact relevant tickets. Tickets that previously under the deleted ticket type will show as “Type”. This action cannot be undone. Please process with caution.
You can follow the steps below to delete an existing ticket type:
- In the “Ticketing settings” page, go to the “Ticket type” tab
- Locate the ticket type you need to delete
- Click on the
icon on the right side of the ticket type name
- A warning message will appear. Click “Delete” to confirm

Rearrange the order of ticket types
You can rearrange the order of ticket types to customize how they appear in the dropdown menu. You can follow the steps below to rearrange the order of ticket types:
- In the “Ticketing settings” page, go to the “Ticket type” tab
- Locate the ticket type you need to rearrange its order
- Hover over the ticket type you want to move
- Click and drag it up or down to rearrange its position
- The new order will be saved automatically and applied to all dropdown menus
