Any person who interacts with your business can be saved as a contact in SleekFlow, such as a potential customer messaging you on WhatsApp, a person who clicks on your Facebook Lead Ad, or a visitor who signs up on your website. You can manage all of these contacts in the "Contacts" page in SleekFlow.
In this article, we will outline how to navigate and use the features in "Contacts" to empower your day-to-day workflows.
Accessing and navigating Contacts
To access the "Contacts" main page , click the icon in the side bar menu. On this page you'll find the following sections:
- Side menu - The groups and lists you have segmented your contacts into
- Tools - Contact management-related actions you can perform
-
Contacts table - The view of all of your contacts
 Contacts table
You can view all of your contacts in the “Contacts table”, with any saved contact information displayed in each row. You can also sort contacts by contact names by alphabetical order in the table by clicking the icon in the “Name” column.
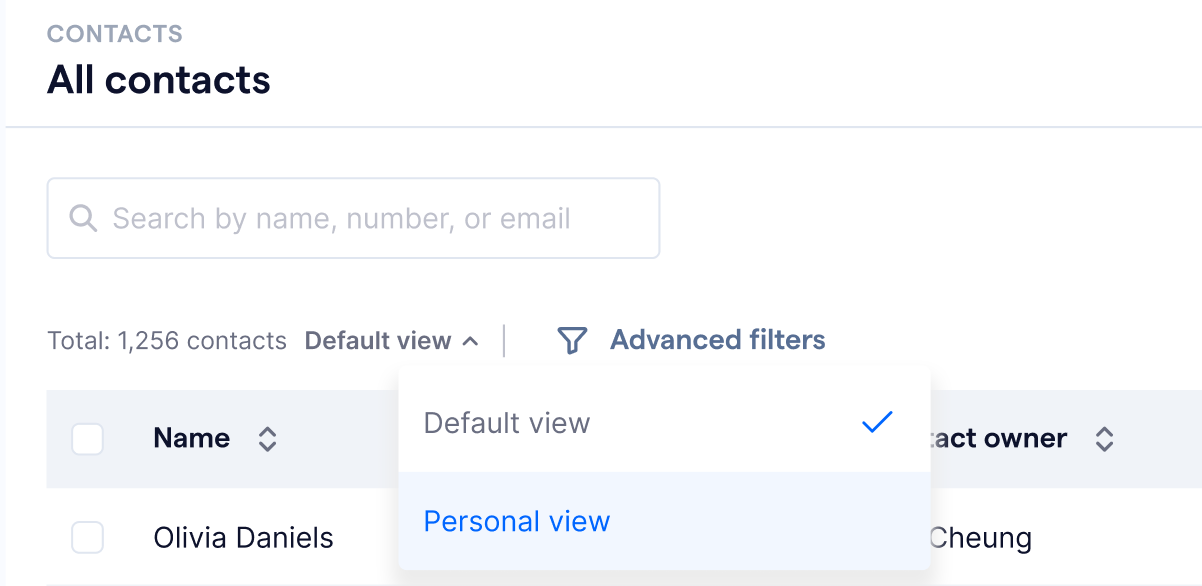
In the “Contacts table”, you can choose to view your contacts with “Default view” or “Personal view”. You can learn more about setting up the “Personal view” of the contact column in this section.

You can also click on a contact’s name to view the contact’s information on the contact details page, learn more about the contact details page in our Contact details article.
Searching for contacts
You can search for contacts in the contact tools section, using either the search bar or filtering options.

Search bar
Search for a contact with the search bar by inputting the contact's:
- First name; and/or
- Last name; or
- Phone number; or
All search results will be displayed in the contacts table.

ℹ️ Please search contact names in the order of First name + Last name, it will not work if you use Last name + First name
Filtering options
You can use the filtering option to search for contacts based on specific criteria. Follow the steps below to apply filters:
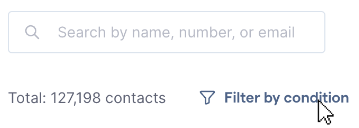
- Click “Filter by condition”
2. Select the contact property you would like to use as a filter and set the rules accordingly

3. You can add additional filter conditions by clicking “Add condition”
4. Once you have added all of your filters, click “Apply”
5. The filtered contacts will be displayed in the contact table
Editing contact columns
When editing contact columns, you can choose to edit contact columns of “Default view” or “Personal view”.
Understanding “Default view” and “Personal view” in Contacts
-
Default view: This is the company-wide contact view that applies to all users. Any changes made to the default view, such as adding or removing columns, will be reflected for everyone in the organization. Only users with the appropriate permissions will be able to edit the contact columns in the “Default view”
- Personal view: This is a customized view that only affects your own account. You can adjust the column order and visibility to suit your workflow, but you cannot create or delete columns. Changes to your personal view do not impact other users.
Each user can modify their “Personal view”, while the “Default view” remains consistent across the company for standardization.
You can follow the steps here to edit the order by which contact properties are displayed within the “Contacts table”:
- Click the
icon on the left-navigation bar to go to the Contacts page
- Click “Edit column” at the top right corner of the page
You will be redirected to the “Edit columns” settings page, where you can adjust the sequence that columns are displayed in the contact table, change the visibility of columns, edit column names and types, and delete columns
Sequences
When you adjust the sequence of columns, it will be reflected across the entire SleekFlow platform. To arrange the column display sequence:
- Click and hold onto the
 icon next to a contact property name
 - Drag it to your desired order in the sequence
- Release
- Once you have rearranged contact properties into a sequence of your liking, click “Save” at the bottom of the page
Visibility
You can choose to hide or show columns on SleekFlow. This will apply across the inbox and contact tables, however the property will still be present during contact creation. You can set column visibility with the following steps:
- Toggle the on/off button in the "Shown" column to your desired visibility
- Click "Save" at the bottom of the page
Edit
You can edit a column's contact property name and type, with all changes made being reflected across the SleekFlow platform. Edit a contact property and type by following the steps below:
- Click on the
 icon next to the contact property name
- Select “Edit”
- Update the name or the property type according to your needs

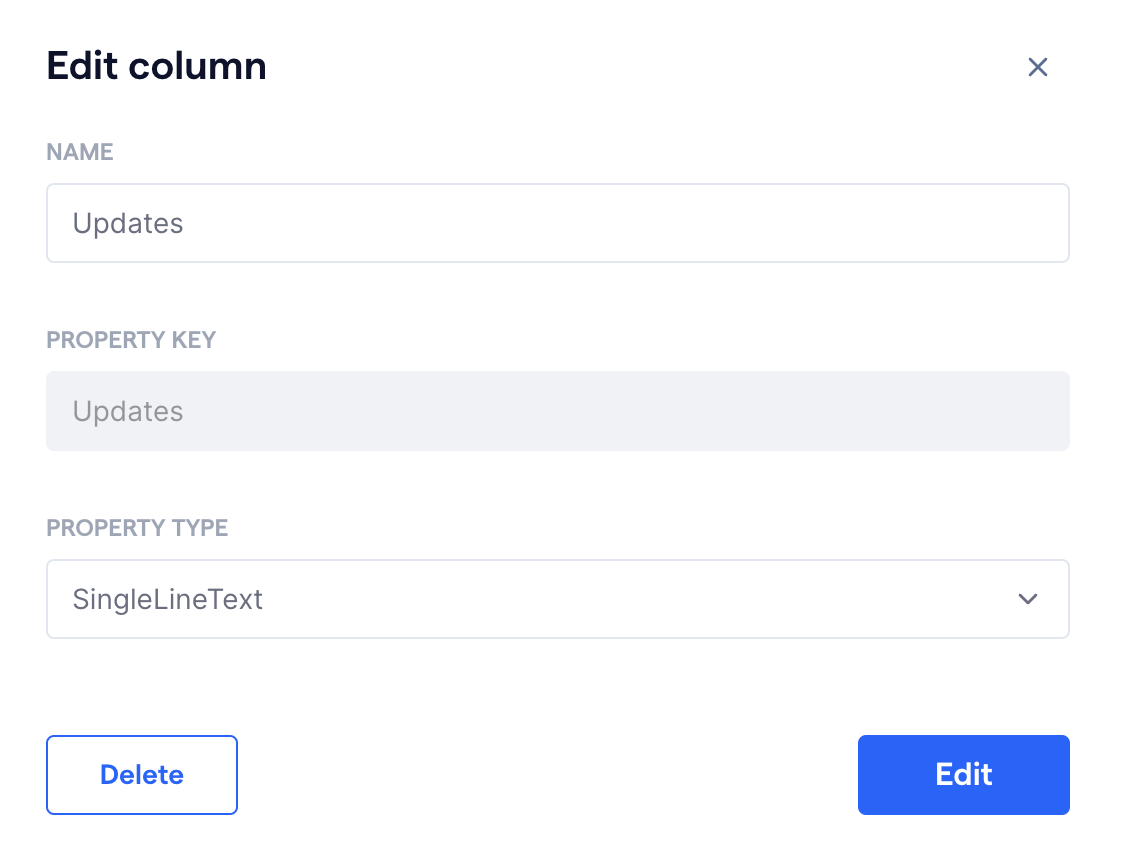
4. Click “Edit” once you complete your changes
5. Click “Save” at the bottom of the page
⚠️ Changing the property type will impact existing contacts, although the existing values will NOT be deleted. However, when updating that property the value will have to match the new property type.
Delete
You can delete a column by following the steps below:
- Click on the
 icon
icon
- Select "Delete"
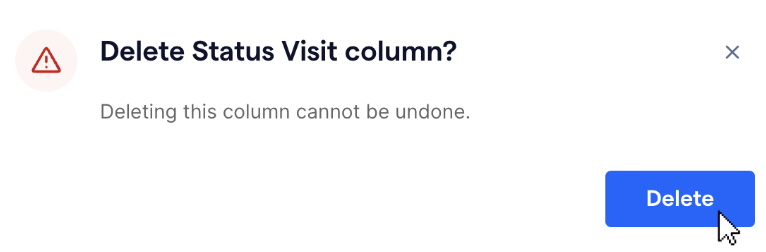
- A warning message will appear, click “Delete” to delete the column
- Click “Save” at the bottom of the page
- The property and its associated records will be deleted from the system
⚠️ Please note that deleting a contact property is a permanent action that cannot be undone. Proceed with care to safeguard any critical data you may have.